Firstly, Standalone NetScaler isn’t the ideal NetScaler setup. Not having a resilient NetScaler configuration is considered almost criminal these days. But, hey it doesn’t always work like that in the real world. Does it?
There will be an outage when upgrading a standalone appliance, and there is no other way around it.
Prep
- Take a VMware/hypervisor level snapshot before proceeding. Makes life so much easier enabling quick rollbacks if something goes pear shaped during upgrade.
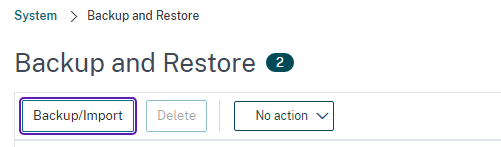
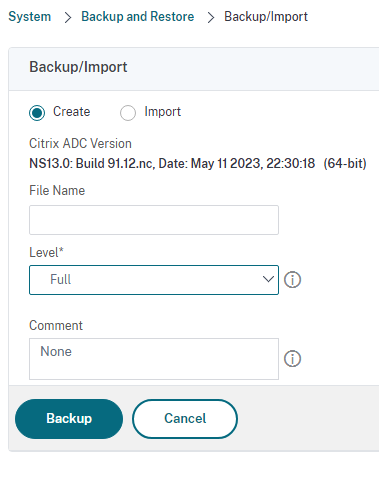
- Also, take a FULL config backup on the NetScaler and download the backed up file locally.
- You will need a minimum of 6 GB of free disk space available on the /var directory. if not, the upgrade will fail
- If you dont have enough space on the NetScaler, follow the article from Citrix here to reclaim disk space.
Login to the NetScaler Management portal with an account that has root privileges, preferably nsroot.
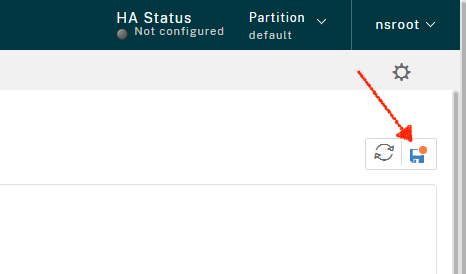
Save the Running Configuration
Click on the floppy icon to save the running configuration.
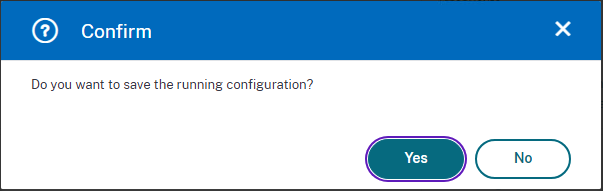
Say Yes to the prompt
Navigate to System node on the left pane and click System Upgrade

Citrix has included the disk space check as a part of the upgrade in newer firmwares. That’s a welcome addition, but it says a minimum of 4 GB free disk space though. That is incorrect. If you continue your upgrade will fail.
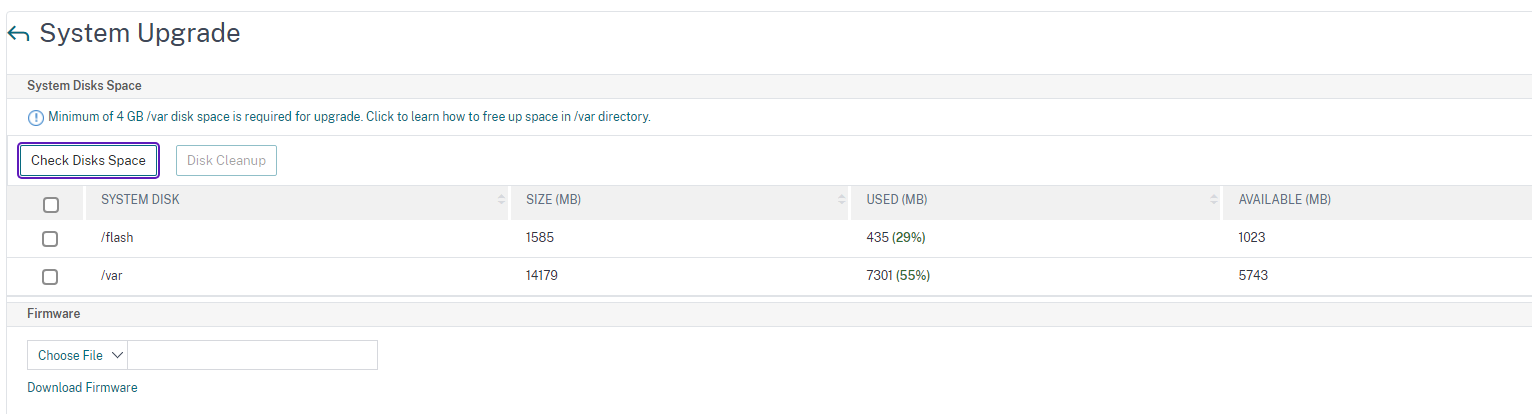
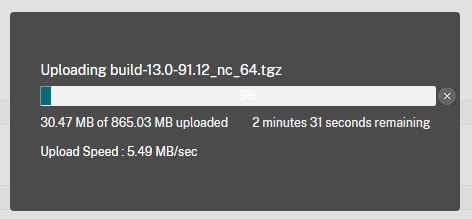
Click Choose File and select the downloaded firmware. I already had the tgz file (firmware) downloaded and saved on the management VM that I was running the UI from.

I normally would untick the option to enable Call Home, Reboot and Citrix ADM to keep it simple.
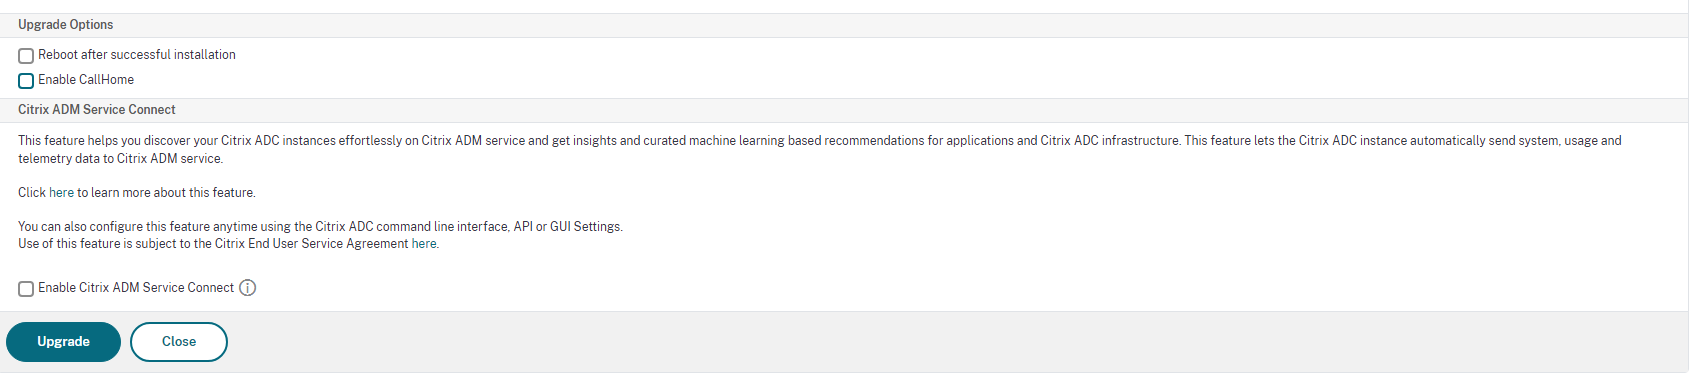
Click Upgrade
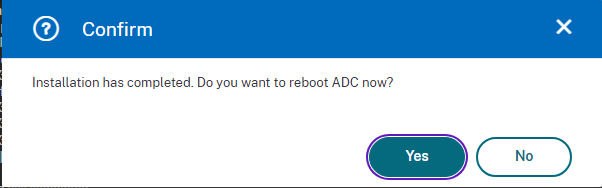
Click Yes to reboot now. You will need to perform a cold restart for the new firmware to show up. The below dialog will perform a cold reboot.
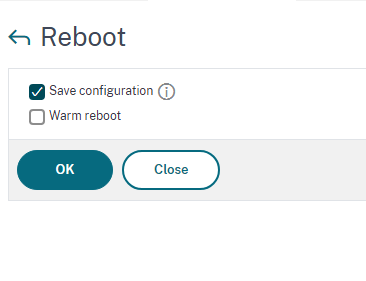
However, for any reason if you choose not to reboot and want to do the same via the usual Reboot button, ensure that warm reboot is unchecked.
Warm reboot doesn’t restart the OS of the NetScaler
What if the Upgrade fails?
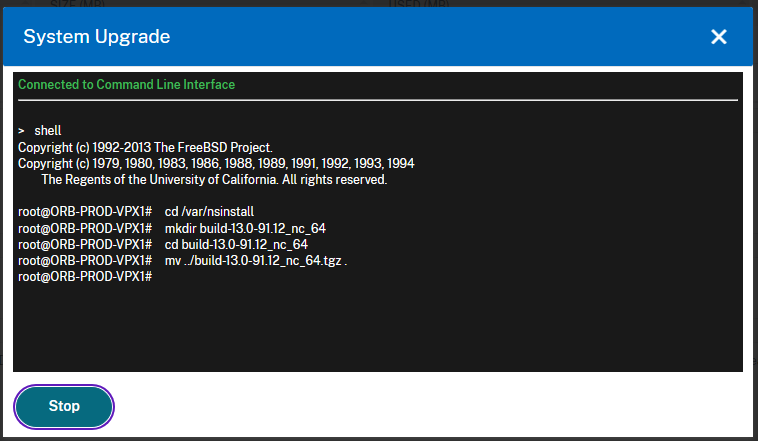
One of the most common causes of upgrade failure is the lack of enough disk space in the /var directory. You will need to perform a cleanup of the /var folder if the NetScaler says so in the upgrade failure logs

Citrix has got an excellent documentation regarding how to go about performing a cleanup to reclaim disk space here
You may use WinSCP to delete files and/or PuTTy to check the sizes of various folders and files. If you are comfortable doing all of that via just PuTTy alone, that’s fine too.
Once you have enough disk space available ( ~ 6 GB) though Citrix’s own GUI says 4 GB. In my experience, 4 GB isn’t enough, you will need a minimum of 6 GB of available free disk space.
What if your NetScalers are configured as an HA?
For the most part, the steps are the same as when you upgrade them individually. However, follow the below steps/precautions to avoid you bricking the config on the NetScalers if you are dealing with an HA configuration.
First step is to logon to the Secondary NetScaler and enable “STAY SECONDARY” switch. You will be upgrading the secondary NetScaler first without impacting production services.
Now logon to the Primary NetScaler and mark it as “Stay PRIMARY”.
Upgrade the secondary NetScaler and perform a reboot. Log back in and change the switch from “STAY SECONDARY” to “Actively participate in HA”
Now logon to the Primary NetScaler and change it from “STAY PRIMARY” to “Actively participate in HA”
Now perform a Failover from current primary to the secondary. The secondary is the new Primary now. Hope you are still with me. 😉
If you refresh the netscaler admin console, you will realize that you are on the secondary now. Mark it as “STAY SECONDARY”
Reboot if you need to prior to the upgrade. Perform the upgrade and give it a reboot. Once it’s back up, change it to “Actively participate in HA”
You can now choose to perform a failback so the original one becomes the primary instance again, else leave it at it as it doesnt matter.
There you have it folks, that’s how you quickly upgrade your NetScaler appliance/s.
