
I have done numerous Citrix Workspace Environment Manager (WEM) deployments in the past but never did I think about once doing a blog post on it yet. So, we are doing it this time. For the uninformed, Citrix WEM is a resource management and user persona management tool and is a must-have in every Citrix environment for the following reasons.
- It’s FREE for all the Enterprise and Platinum customers that have a valid Citrix Customer Success Services (CSS) agreement.
- It’s super impressive if you have applications that consumes large amounts of memory, which most of the modern apps are.
Refer here if you want to look at what you get with different Citrix licenses https://www.citrix.com/en-au/products/citrix-virtual-apps-and-desktops/feature-matrix.html?_ga=2.163129148.1481679903.1582674361-19471628.1580160671
Overview
WEM has the following simplified architecture (courtesy of Citrix.com)
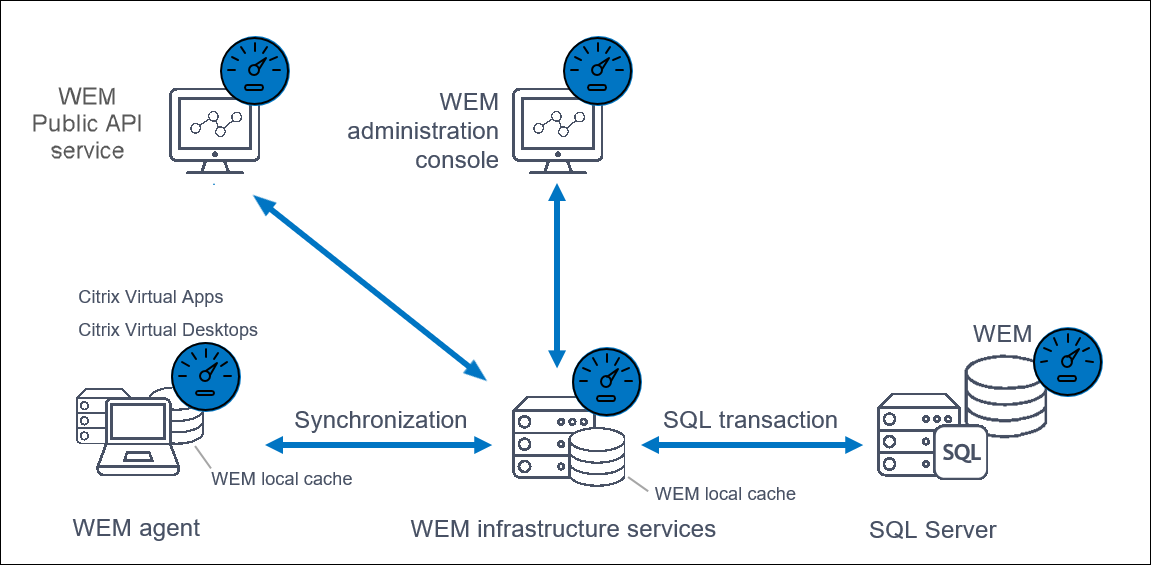
There are 3 key pieces for a WEM deployment
- Infrastructure Services – It is the brain of the whole solution. It helps synchronizing the agent and admin console with the SQL server and Active Directory. This role CANNOT be installed on a Domain Controller and Desktop Delivery Controller according to Citrix.
- Administration Console – Console is used to configure and manage WEM. This could be installed on any standard Windows machine.
- Agent – The Workspace Environment Management agent connects to the Workspace Environment Management infrastructure services and is responsible for enforcing the settings you configure by using the administration console. The agent can either be deployed on VDAs or on physical Windows devices (for Transformer use cases). It can be installed on a Windows client (to manage client environments) or on a Windows Server (to manage server environments, or to manage published desktops and applications).
Installation
Pre-Requisites
- domain service account
- sysadmin access for the service account on the SQL server(s)
- an AD group that contains all the WEM admins in the organization
- Add the service account to local administrator group on the WEM servers
Install WEM Infrastructure Services
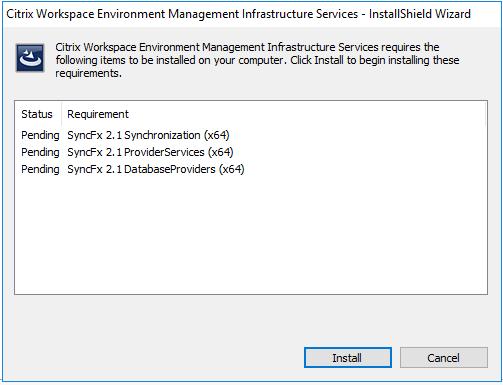
Download the installer binaries and run the .exe for Infrastructure Services
Click Install
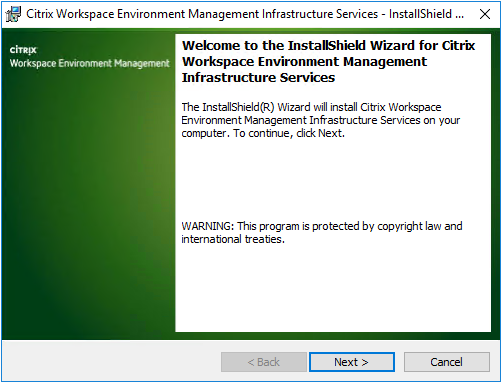
Click Next
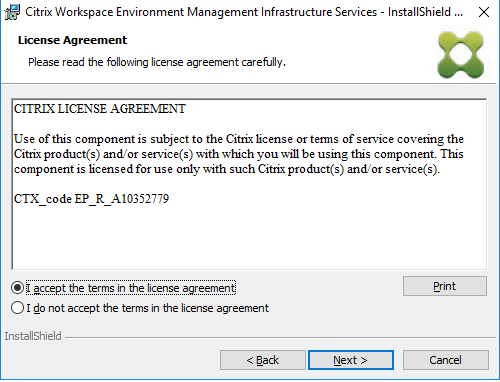
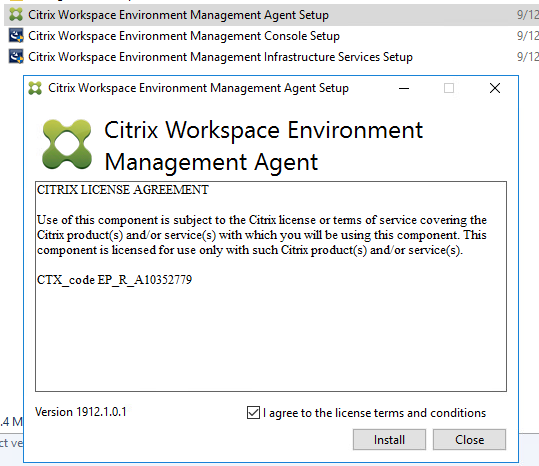
Accept the EULA
Enter the Customer and Organization Name
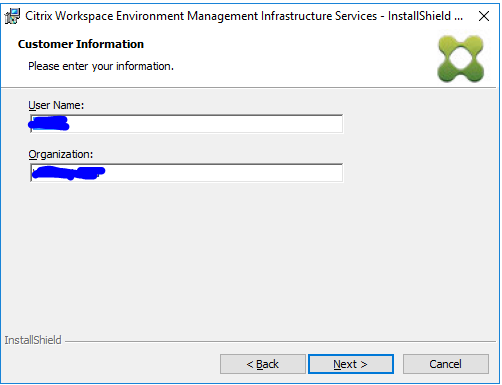
Click Next

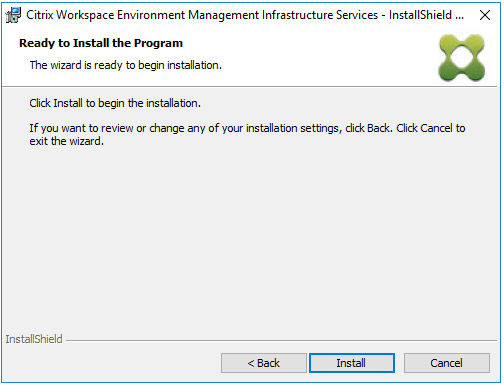
Click Install
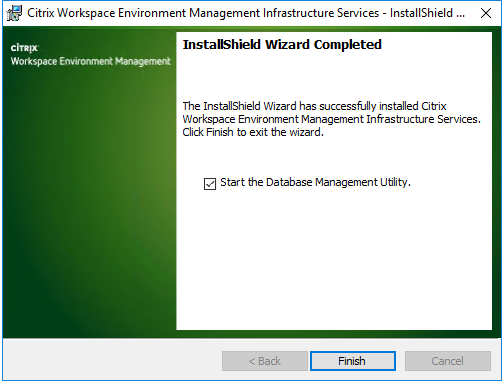
Click Finish. The database management utility will start
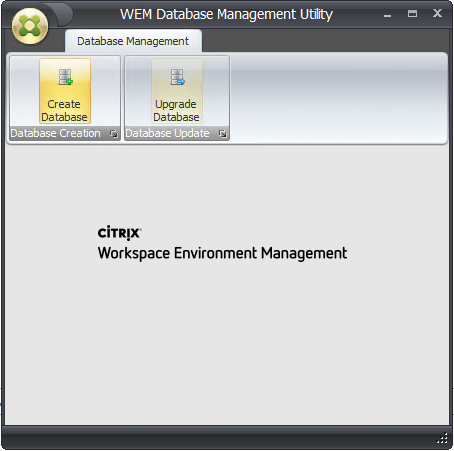
Click Create Database
The database creation wizard will start.
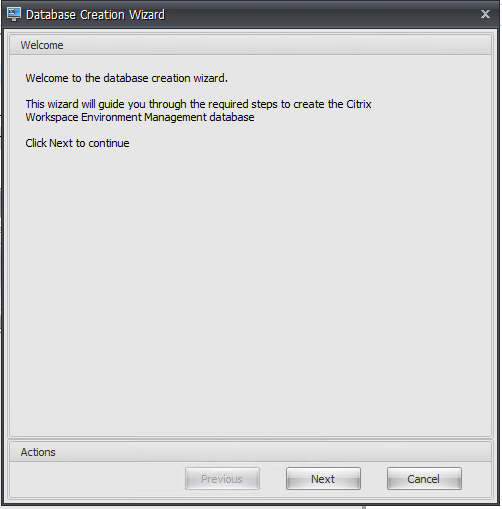
Click Next
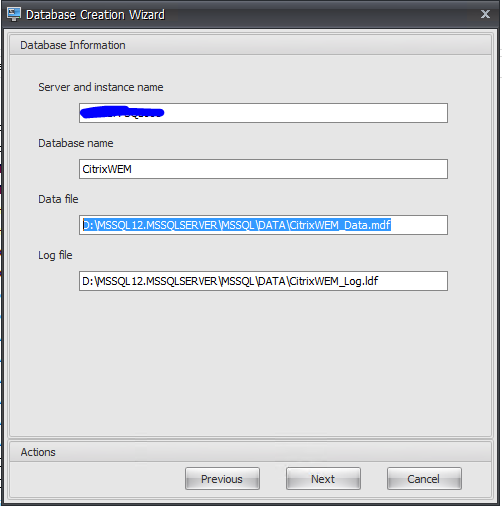
Tick the box for “Use Integrated Connection” if the account that has been used is a sysadmin on the SQL server. if that’s not the case, use another account that has sysadmin rights
Click Next

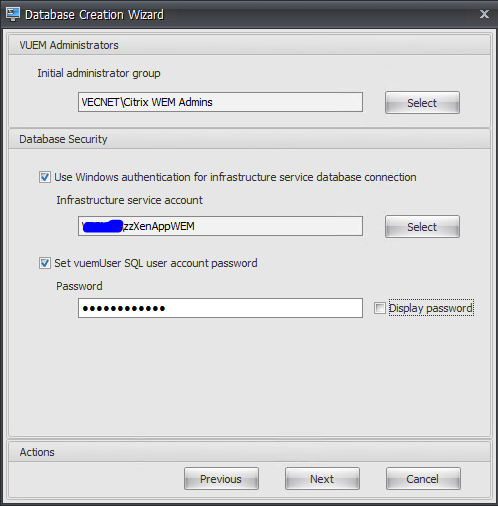
- Add the WEM Administrator AD group
- select the domain service account. This is the broker service account under which the Infra services will be run
- set a password for the SQL vuemUser
Click Next
You get the database information summary as below
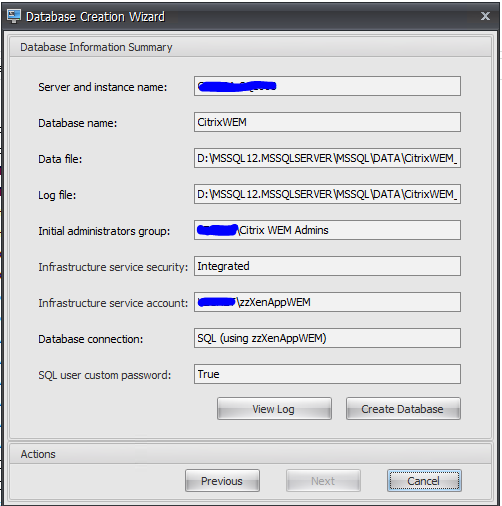
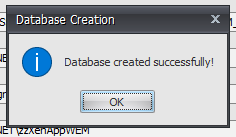
Click OK
Click Finish
Close the Database Management Utility
WEM Infrastructure Services Configuration
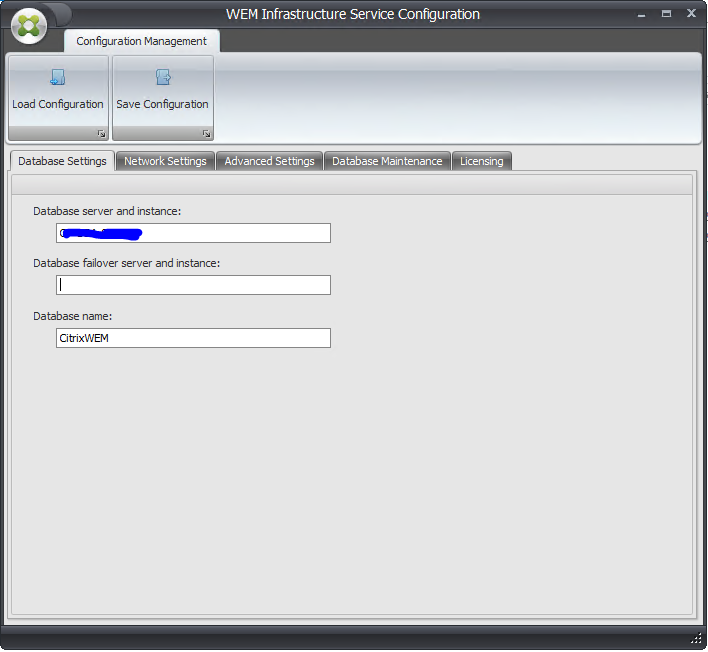
On the server where WEM is installed, run the WEM Infrastructure Service Configuration Utility as an administrator.
On the Database settings tab, enter the Database server name and Database Name that was created in the previous step
If there is a failover server, give the secondary SQL server name and instance
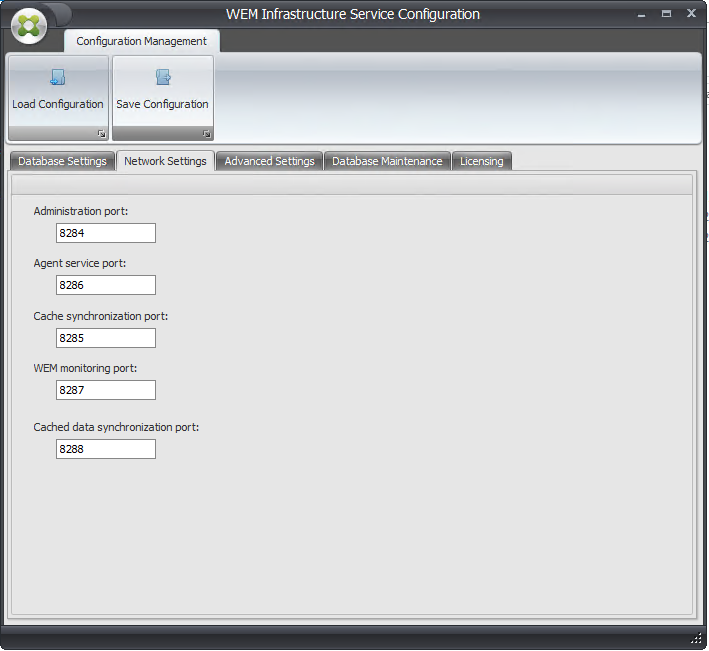
On the Network settings tab, leave everything as default
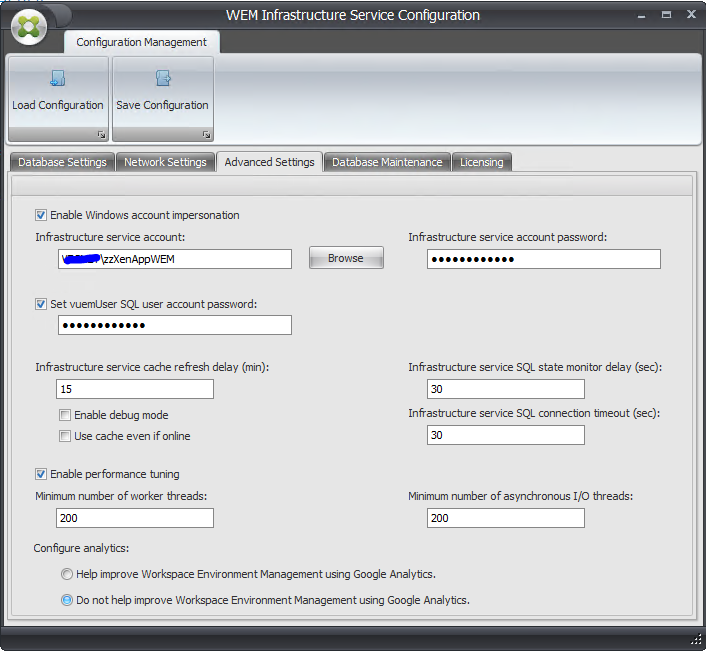
On the Advanced Settings tab, enter the Infrastructure Service account and the vuemUser SQL password.
Enable the Performance Tuning – Tick that
Decide if you want to enable Google Analytics or not
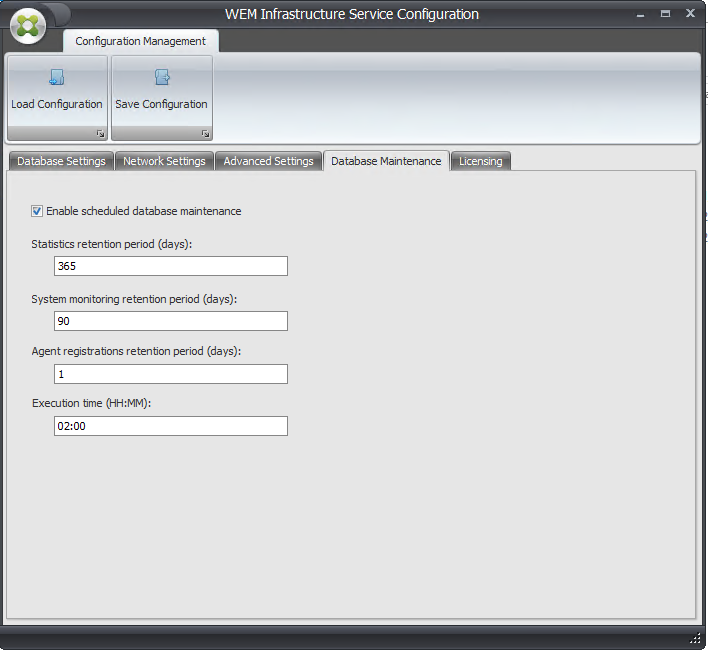
Enable Scheduled Database Maintenance as below
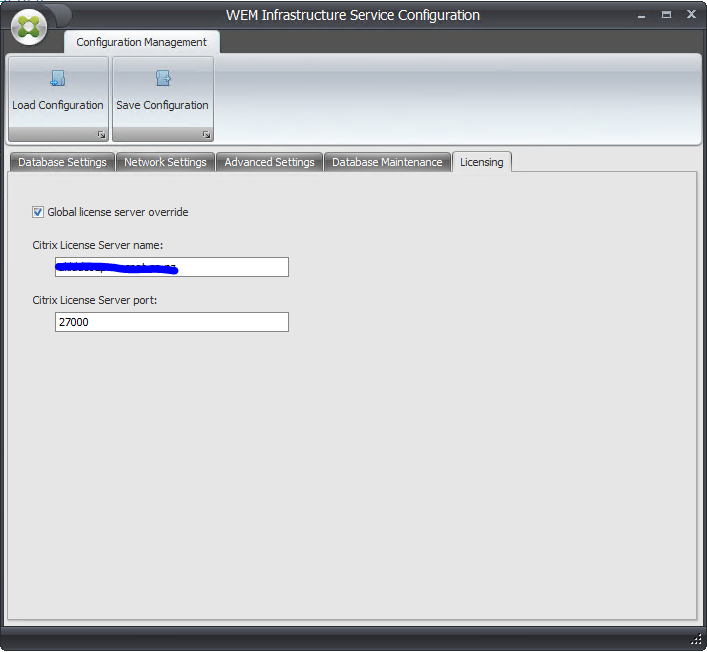
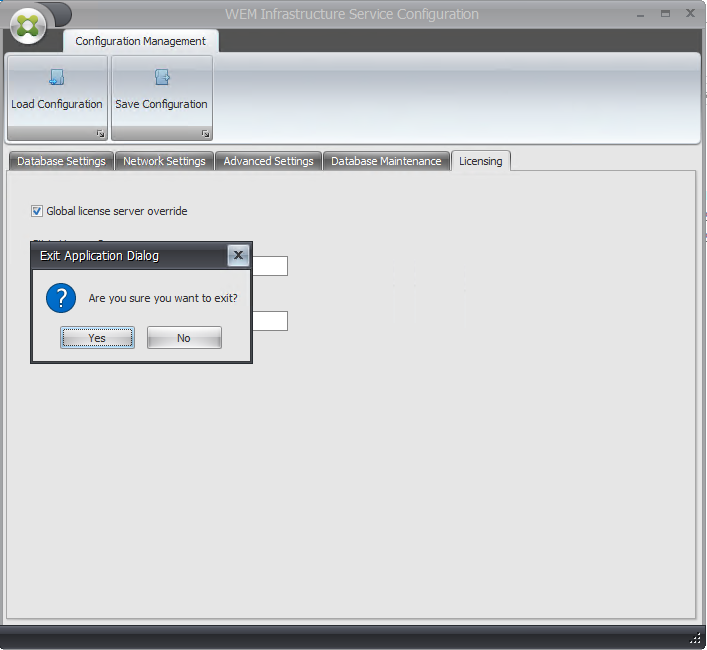
On the Licensing Tab, tick the box for Global license Server override
Click Save Configuration
This will restart the broker service
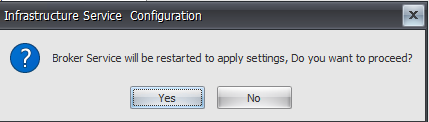
Click Yes
Close the WEM Infrastructure Service Configuration utility.
Click Yes
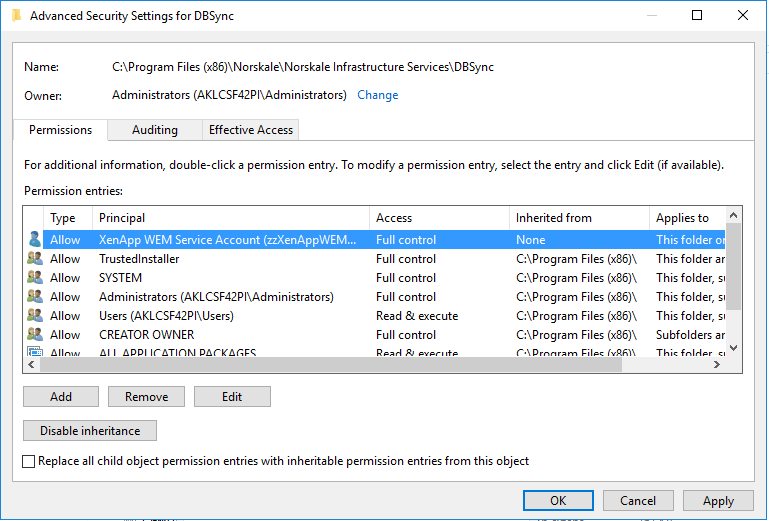
Ensure that the Infrastructure service account has full permissions to the DBSync folder. The installation of the Infrastructure service role should set this up correctly but if that isn’t the case, ensure that the permissions are setup like the below. Else, your WEM upgrades will most likely fail in the future.
If you have multiple WEM infrastructure services servers and you are planning to load balance them, you will need to set up a Kerberos SPN. Follow the command below to set it. Service account name is the account used for WEM Infrastructure Service. No need to add the domain name before the service account name
setspn -U -S Norskale/BrokerService [serviceaccountname]

Run the Citrix Workspace Environment Management Infrastructure Services Setup on the rest of the WEM servers.
Once the installation is complete, do NOT run the Database Management Utility but run the WEM Infrastructure Service Configuration utility instead.
Setup the Kerberos SPN (it is case sensitive so be mindful of how you use the service account on the previous servers)
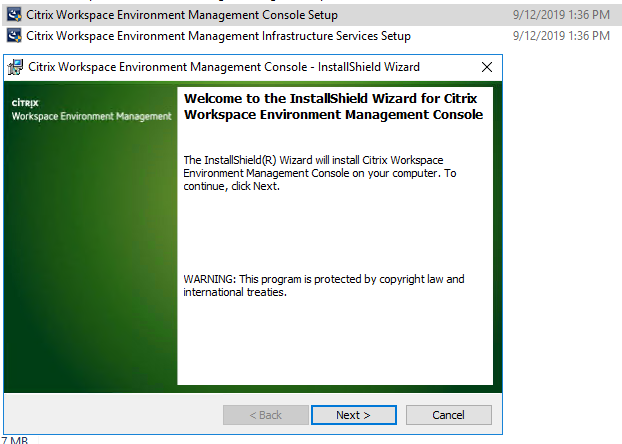
Citrix WEM Console Install
Run the console install on the WEM servers or any other server of your choice
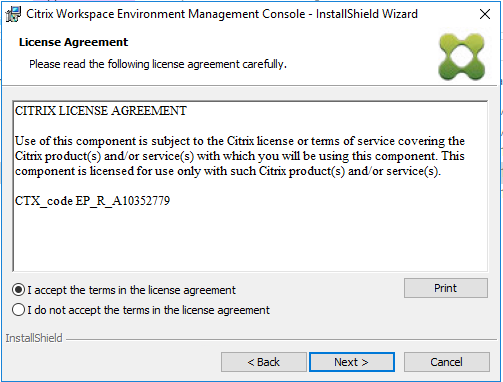
Accept the EULA
Enter the Customer Name and Organization and Click Next
Select Complete and click Next
Click Install
Click Finish
WEM Agent Install
Once the Infra services and console is installed, you can now install WEM agents on the machines that you need to manage via WEM. In our case, they are Citrix VDAs themselves.
Run the installer binaries for Citrix Workspace Environment Management Agent Setup
Click Install
Click Next
Click Next
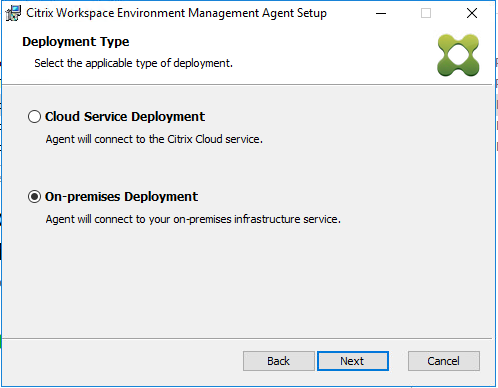
Select On-Premises deployment
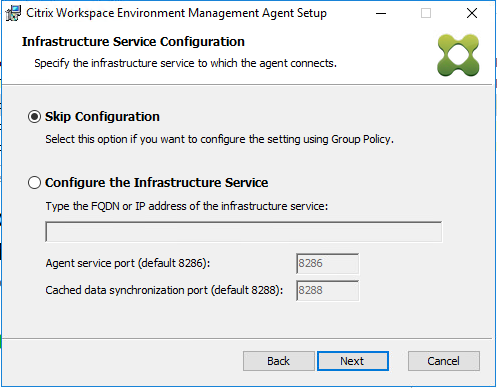
Select Skip Configuration. These settings will be pushed down via GPOs.
Click Next
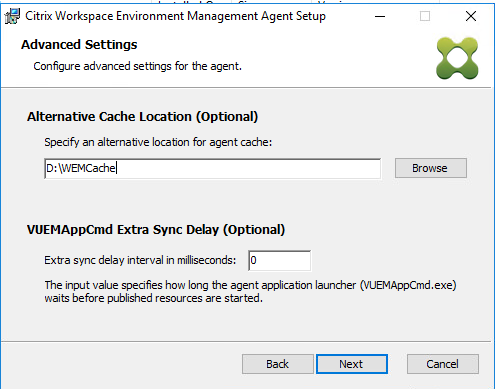
You can choose to leave the WEM Cache on the C drive but when using PVS or MCS , its is often good practice to move the cache folder to the persistent drives. I have selected to use the MCS Write Cache disk in the example above.
Click Next
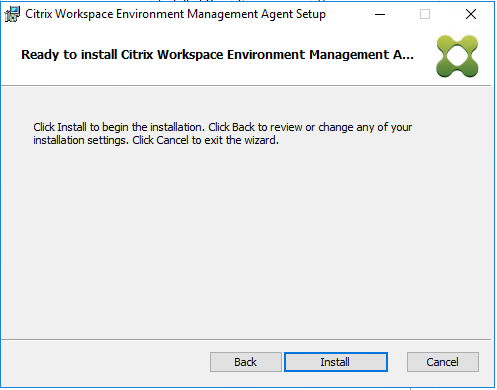
Click Install
Click Finish
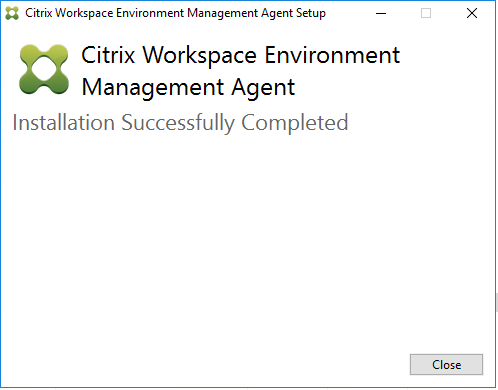
Click Close
WEM Initial Configuration
Once the console and WEM services roles are installed, a Configuration Set is required to be created so that it could be applied to the machines that you intend to. They are previously called Sites so don’t freak out if you are used to that terminology in the past.
If you already have a backup of the Configuration set, you can now browse to that and select it and import it.
Else, create a new Configuration set
Click Create
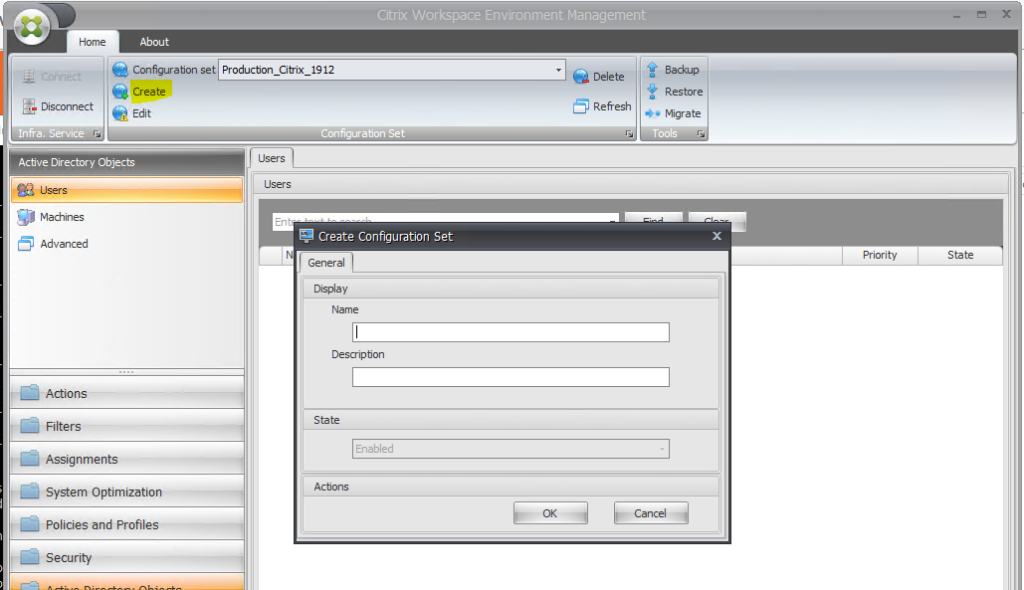
Give it a Name and a description
Click OK
Now it’s time to import default recommended settings. You can find them in the WEM download package.
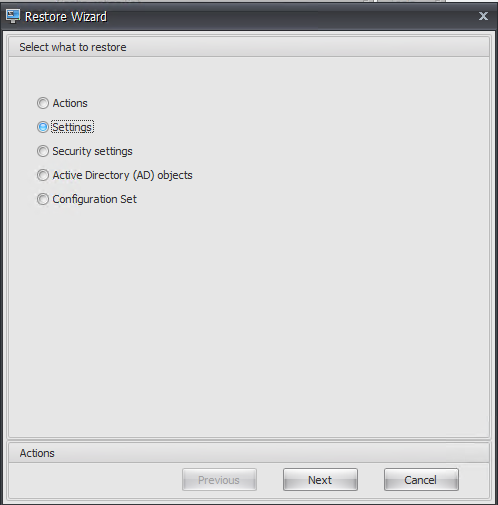
Click Restore

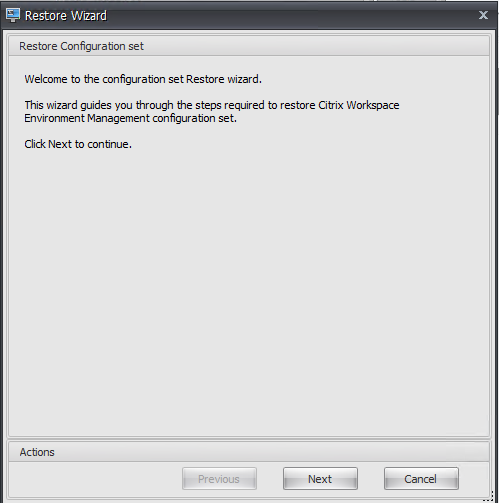
Restore Wizard will open
Select Settings
Click Next
Click Next
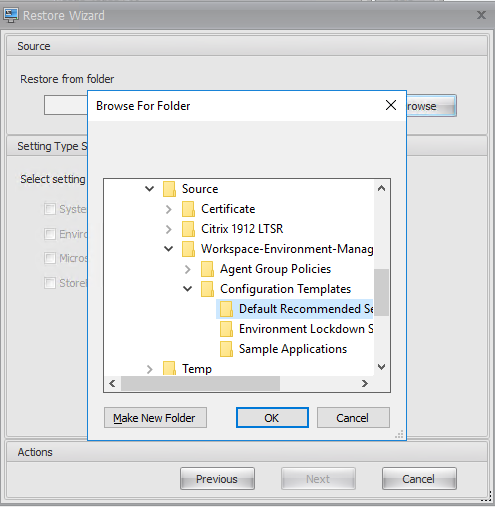
Click Browse and pick the Default Recommended Settings
Click OK
Check all the boxes as shown in the picture below
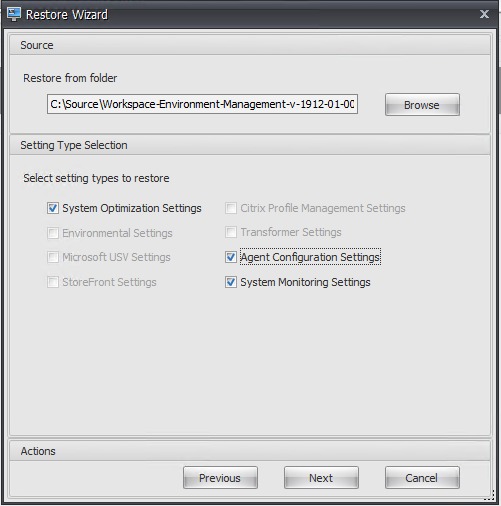
Click Next
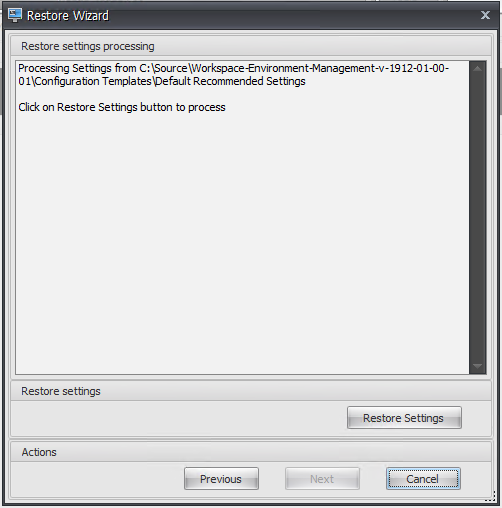
Click Restore Settings
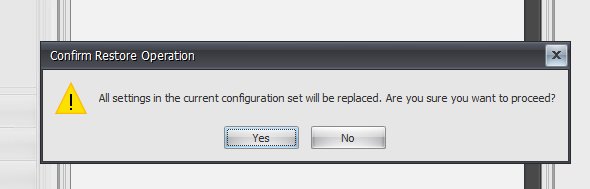
Say Yes to the warning above
Wait until the restore is finished
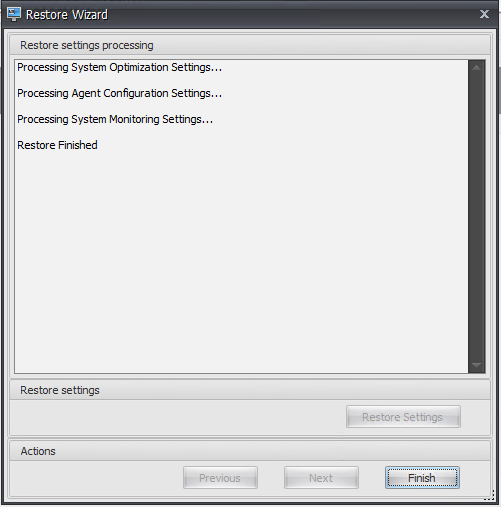
Click Finish
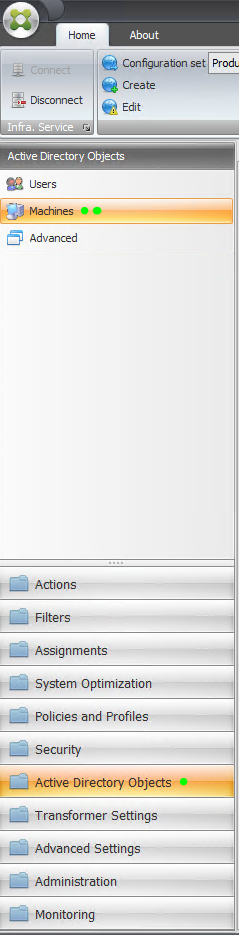
To add the agents in WEM console, Click “Active Directory Objects” and then click Machines
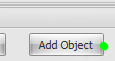
Under Actions pane at the bottom, select Add Object

Pick the computer account that you want the policies to be pushed using the WEM agent. You can also choose to add the whole OU to make things a bit more automated.

The basic config is now there. Now if you want to get a bit more deeper into the WEM or understand the concepts a bit more, please feel free to read the blog I wrote a while ago. It has explanations and best practices that you can follow for your environment and customize it according to your needs. It is a good read, I promise!
Citrix Workspace Environment Management (WEM) – Baseline Policies and Best Practices

Leave a comment