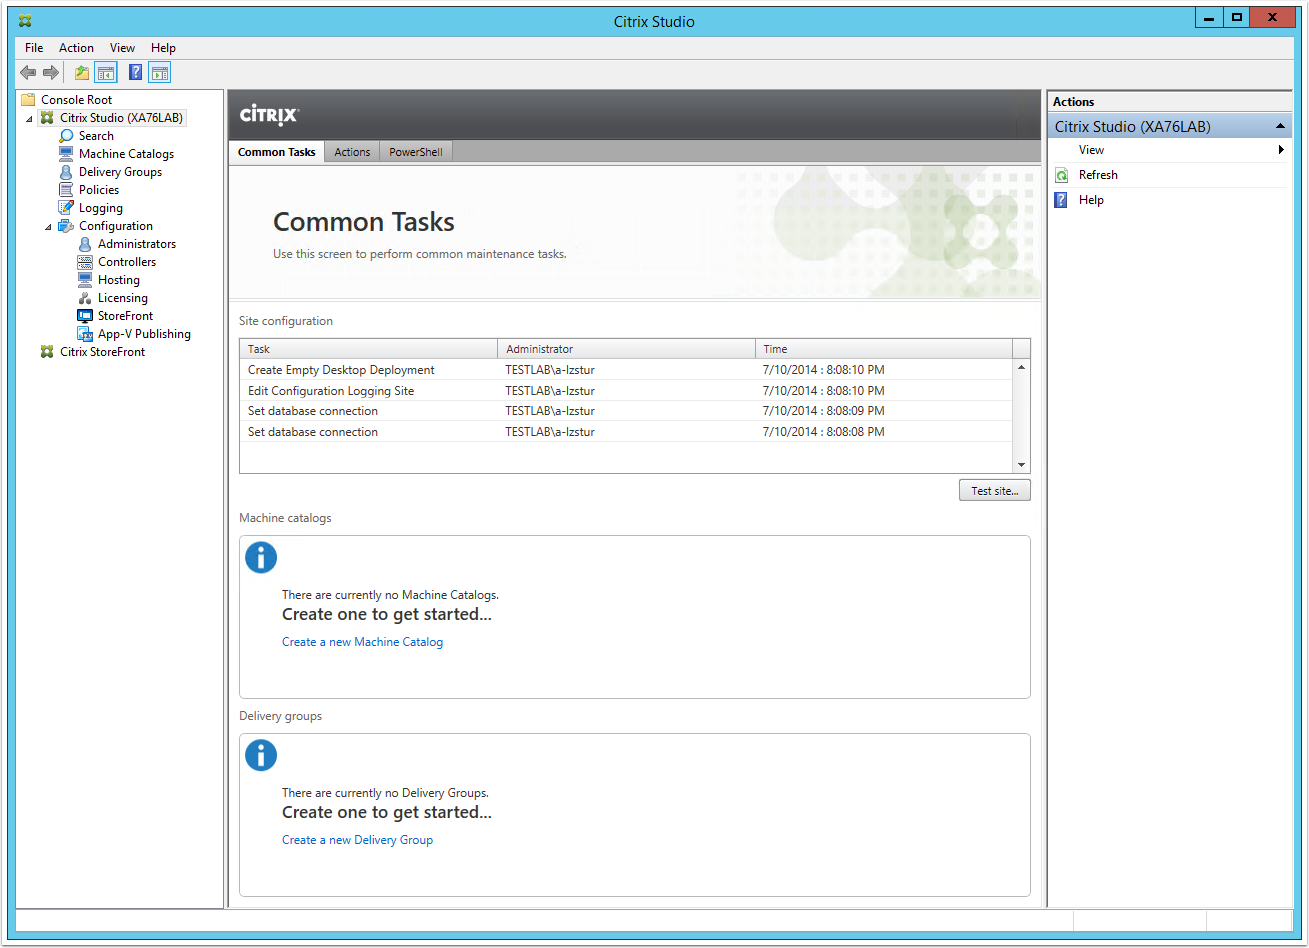
This article will cover how to install the Citrix Studio component. For those of you who are unfamiliar this will act as your centralized point of control for your Citrix environment. You can also interact with it as you’ve seen in previous examples through command line operations as well.
In order to install the Studio for management the process is straight forward. Run the executable with a few switches –
[C:\Downloads – “Your download location”]\x64\XenDesktop Setup\XenDesktopServerSetup.exe /PASSIVE /NOREBOOT /CONFIGURE_FIREWALL /COMPONENTS DESKTOPSTUDIO
Once your Studio component is installed, you can validate the installed components by reviewing their accessibility form your server where the command was executed.
Next up would be installing your StoreFront component. This will provide front end access to your delivered applications and desktops.
The process is the same. Utilizing your Citrix installed, you will call the following executable with the following switches:
[C:\Downloads – “Your download location”]\x64\StoreFront\CitrixStoreFront-x64.exe -silent -logfile “%am_logpath%\StoreFrontSetup.log”
For adding additional Storefront servers to a load balanced group, you can utilize a variety of different scripts to determine if the server is already part of a group, and if not join it.
Creates a script to review if the Citrix services are running on the server where the scripts are executing, and if so join the new StoreFront sever to a group. If not create a group of its own.
Set a conditional statement to evaluate the value of this being returned, and execute one of the following scripts.
For Creating:
Set-DSInitialConfiguration -hostBaseUrl [Hostname]-farmName [FarmName] -port [ListeningPort] -transportType [TransferType] -sslRelayPort [RelayPortforSSL] -servers [ServerToAdd] -loadBalance [LoadBalancer] -farmType [FarmType] -clusterId [ID]
Or, For Joining an Already Existing:
Obtain the passcode and store value –
Start-DSClusterJoinService
$Passcode = (Get-DSClusterJoinServicePasscode).Response.Passcode
and finally join,
Start-DSClusterJoinService
Start-DSClusterMemberJoin -authorizerHostName $ExistingNode -authorizerPasscode $JoinPass
The final portion would really only be interesting if you were automating the same process over and over again. This is where a product like Login AM which organizes your scripts, and variables would become handy. If you are interested in any information about Login AM or automation of Citrix Deployments please reach out and let me know or drop and comment I would like to have meaningful conversations about automation, and increase my understanding of the products as well.

Leave a comment